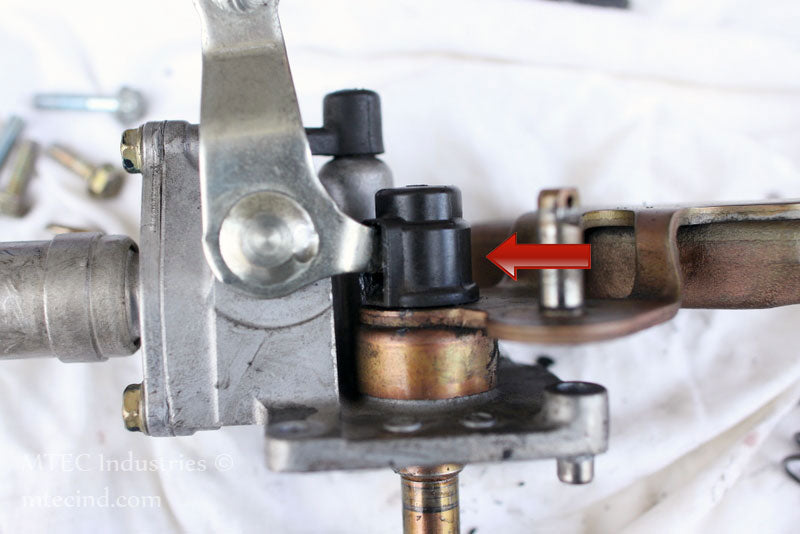
Please do not attempt DIY without the proper tools! Doing so can result in a vehicle that may not be drivable. Tools Needed: 10 mm socket, 12 mm socket, Ratchet, Pry Bar, 8 mm Allen Wrench, Torque wrench, Knife/Scraper, and HondaBond. 
1. Step one is to remove the stock intake from the vehicle. We are going to skip this step since there are so many DIY’s on this topic.
2. Lift the vehicle using a floor jack and use the 8 mm allen wrench to remove the bolt. It is located on the front of the transmission. You might need to reach the bolt from underneath. Make sure you use jack stands and DO NOT ever only use the floor jack. 
3. Next is to remove the shifter cables from the transmission. All you will need to do is remove the pins from the cables and slide the cables out.
4. Unplug the reverse lock-out power cable connected to the shifter mechanism. {NOTE THIS STEP IS ONLY FOR 6 SPEED TRANSMISSIONS}
5. Remove the 4 bolts that hold the shifter mechanism.
6. Place a pry bar underneath as shown and pull the bar slightly up. 
7. Once loose, remove the shifter mechanism. You may have to turn the shifter mechanism slightly to completely remove the shifter mechanism out of the vehicle.
8. Place the shifter mechanism on a towel and wipe clean. Remember to scrape off old Hondabond around the cover of the shifter mechanism.
9. Remove the 12 mm bolt that holds the shifter springs and interlock mechanism. 
10. Pull the interlock mechanism down while making sure that you keep the whole unit together without separating it. This will make the reinstall much easier and faster.
11. Once separated Pull the springs and select stop plate. {OPTIONAL STEP} It is recommended to add grease at the pivot point on the select lever. Just move the shaft completely up and it will separate. Once separated clean and remove any debris. Add a small amount of multipurpose grease and reinstall in reverse order. 
12. Install the new MTEC Springs, but make sure you install washer on top of the smaller spring when reinstalling.
13. Squeeze the assembly together and use 23 ft. lb torque to reinstall 12mm bolt.
14. Use Hondabond on the surroundings of the shift arm cover. Make sure you use enough but not too much.
15. Then reinstall onto transmission using 9 ft. lb torque. Make sure that you replace the bolts in the correct points because 2 of them are a bit longer then each other. This is looking from the front of the vehicle to the back. Use the criss-cross tightening sequence to insure a leak free seal. As seen in the step 16 photo. #1 Is the short bolt. #3 Is the long bolt. #2 Is the short bolt. #4 Is the long bolt. 
16. Use a small amount of Honda bond on the 8 mm allen bolt and reinstall in front of the transmission with 29 ft. lb torque.
17. Reinstall shifter cables and pins.
18. Replug the reverse lock-out power cable.
19. Recheck all work and test out shifter before driving vehicle. Make sure it goes in each gear smoothly!
20. Enjoy and shift smoothly!


